
Quick Start Tutorial
Welcome to your getting-started guide for Kolena’s Agents tool. This tutorial walks you through the steps to build your first Agent. In this example, we will create one that focuses on analyzing customer interactions. If you’d like to follow along, the files used in the tutorial may be downloaded here.What is an Agent?
A Agent is an autonomous, intelligent assistant that helps you automate or enhance your processes. Agents work on your behalf to analyze documents, extract structured data, and generate insights, freeing you to focus on strategic tasks.Navigation Overview
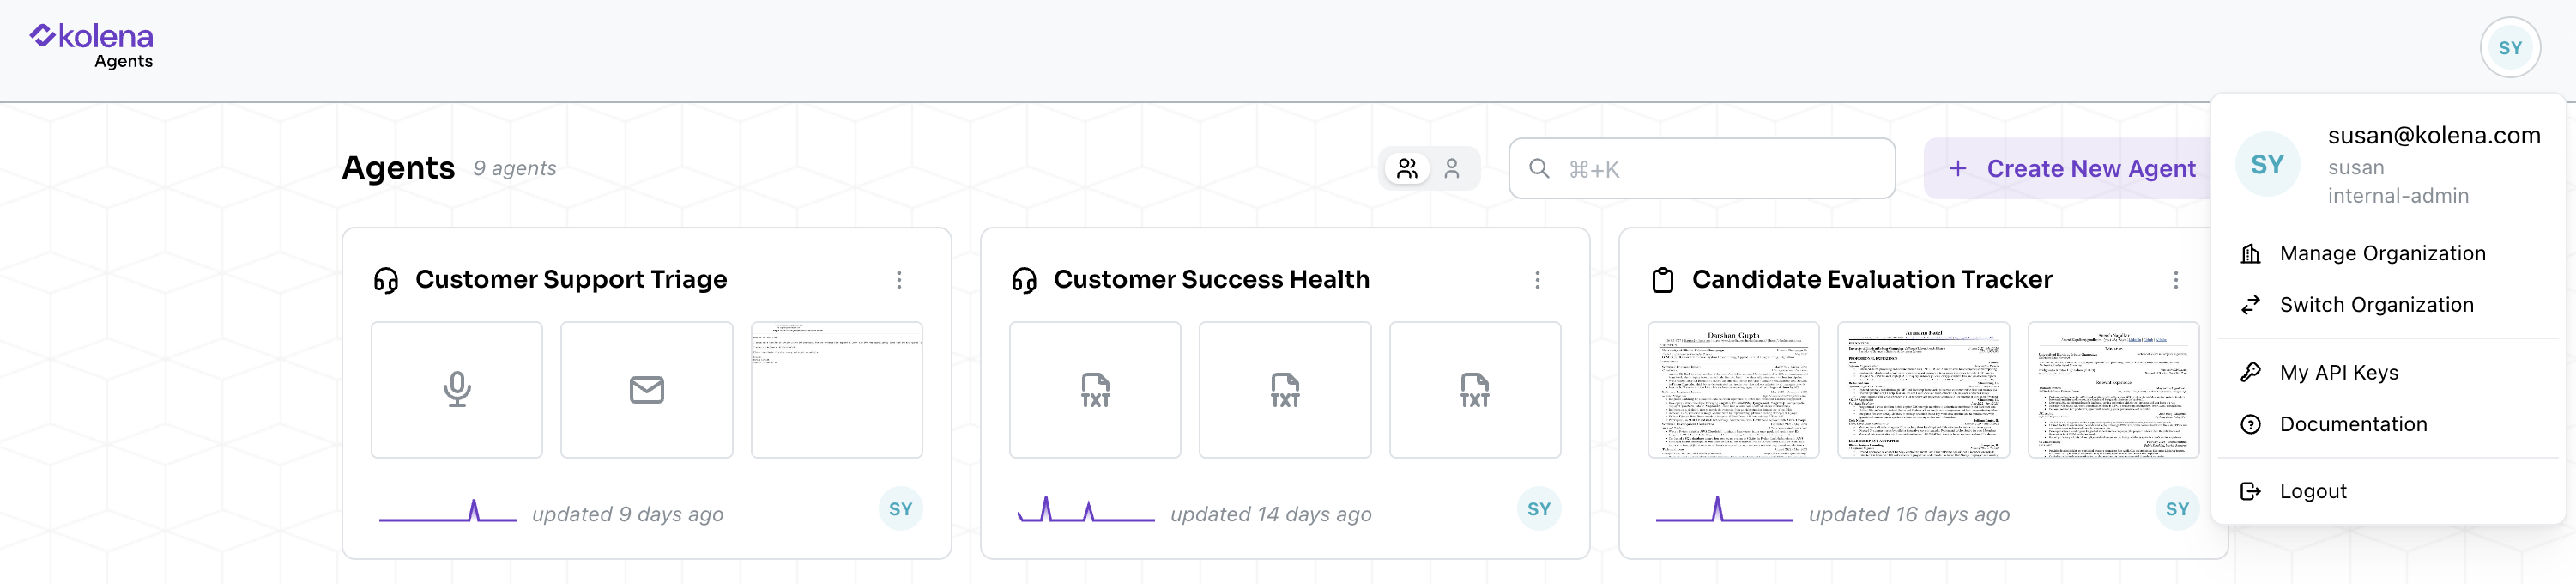
- Manage Organization (for admin users): Manage your Organization, users, and monthly plan.
- Documentation: Extensive guides on Agent setup, user management, FAQs, and prompt styling.
- Logout: Logs you out of the Kolena platform.
Step-by-Step: Create Your First Agent
Let’s walk through creating a Customer Support Agent to analyze customer interactions.Creating the Agent
Option 1: Build a New Agent
- Go to your main Workspace
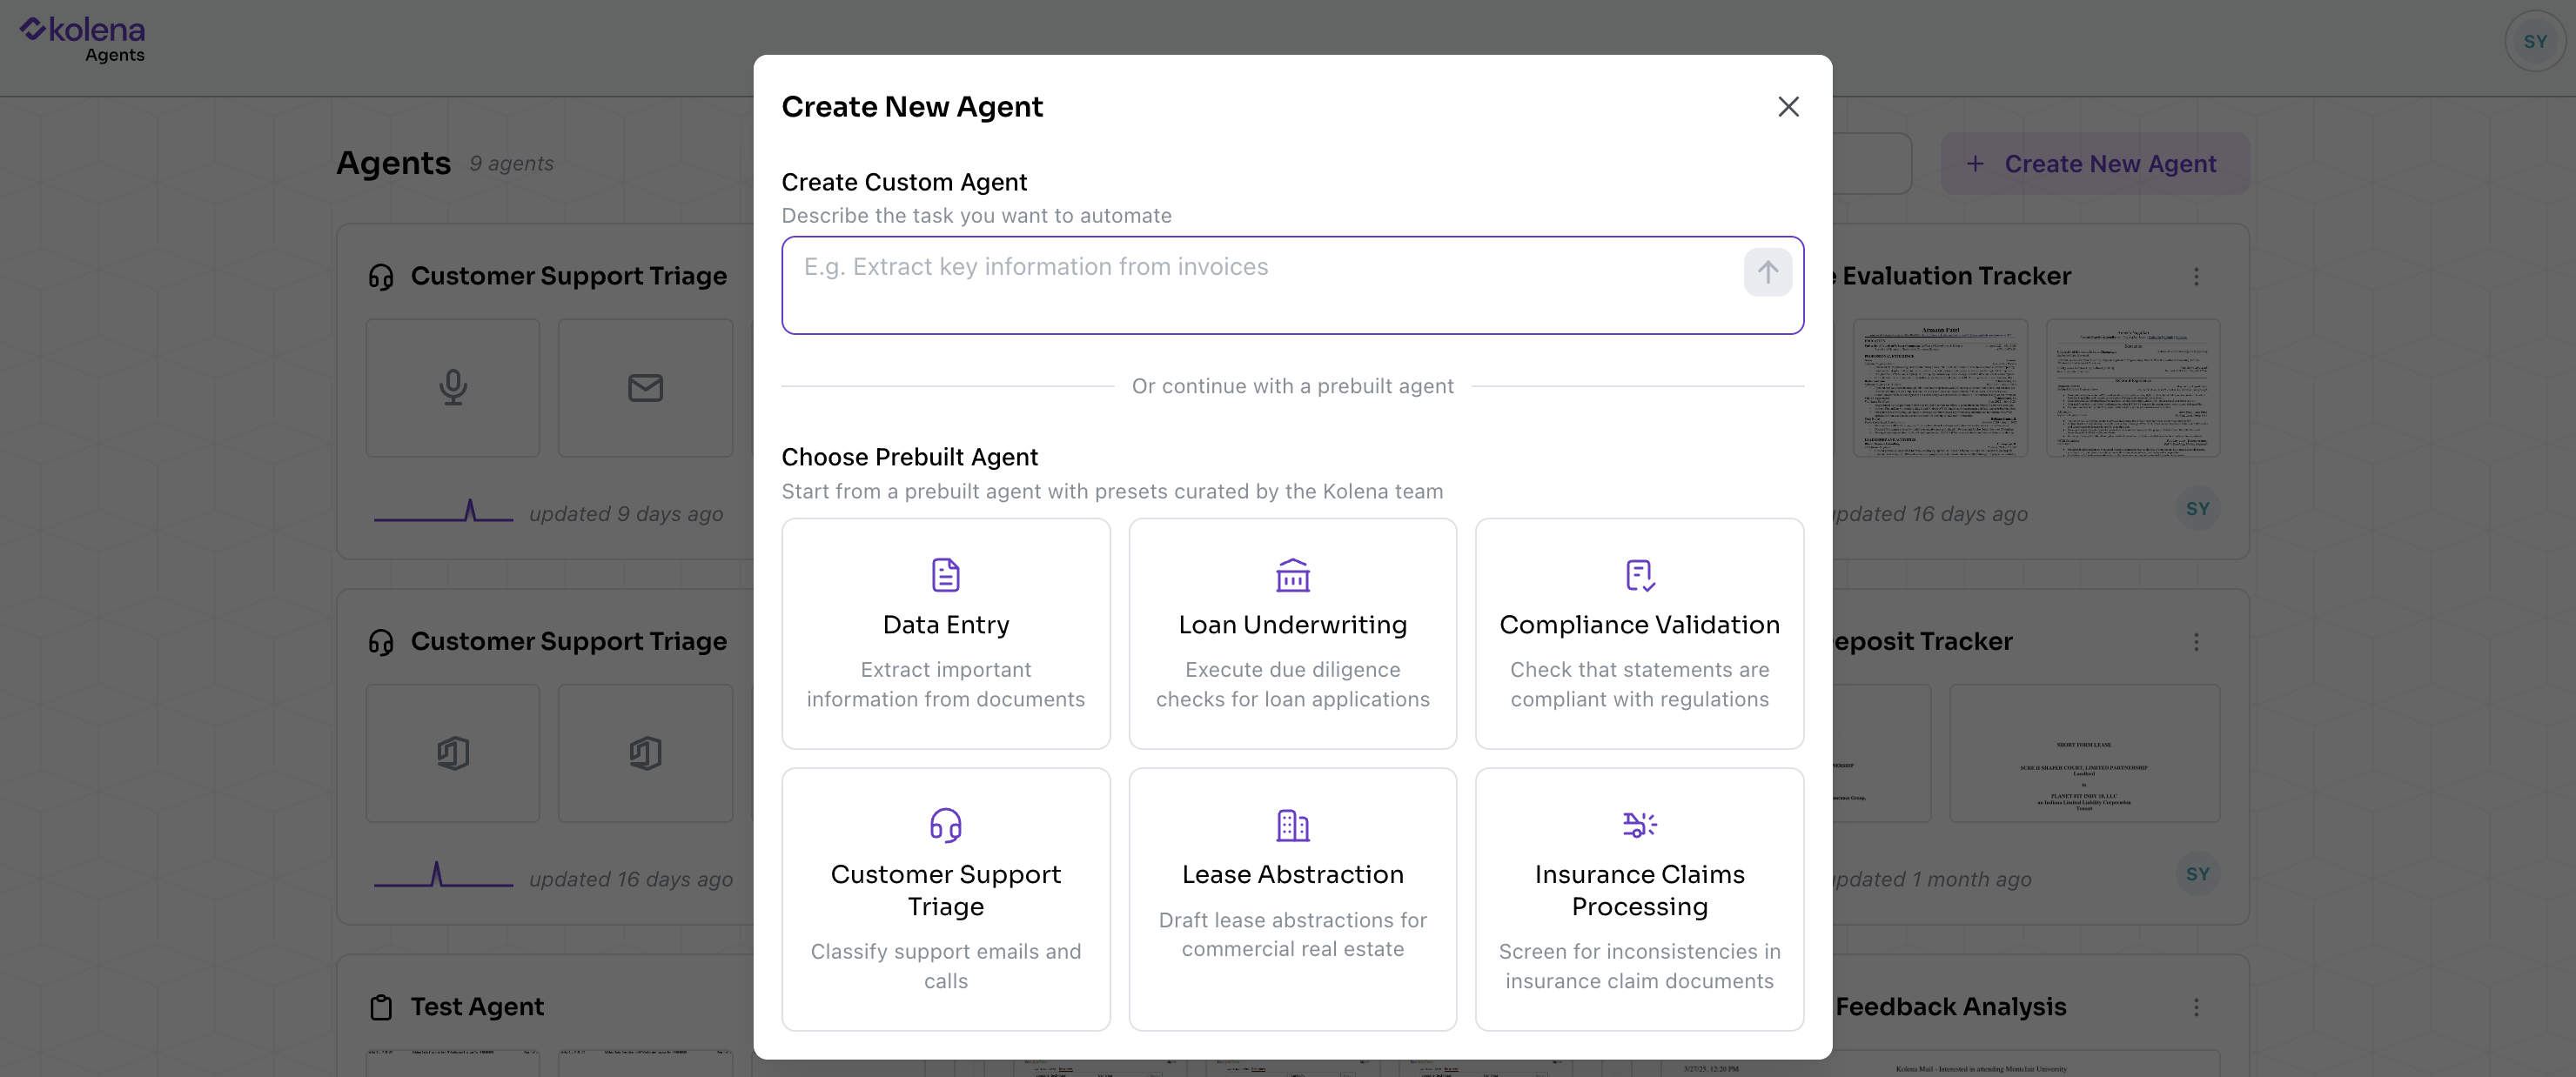
- Click Create Agent
- Define your Objective in your natural language
Example:
Analyze customer interactions and behaviors
Option 2: Select a Prebuilt Agent
- Go to your main Workspace
- Click Create Agent
- Choose from an existing prebuilt Agent option, such as: Customer Support Triage
Upload an Example File
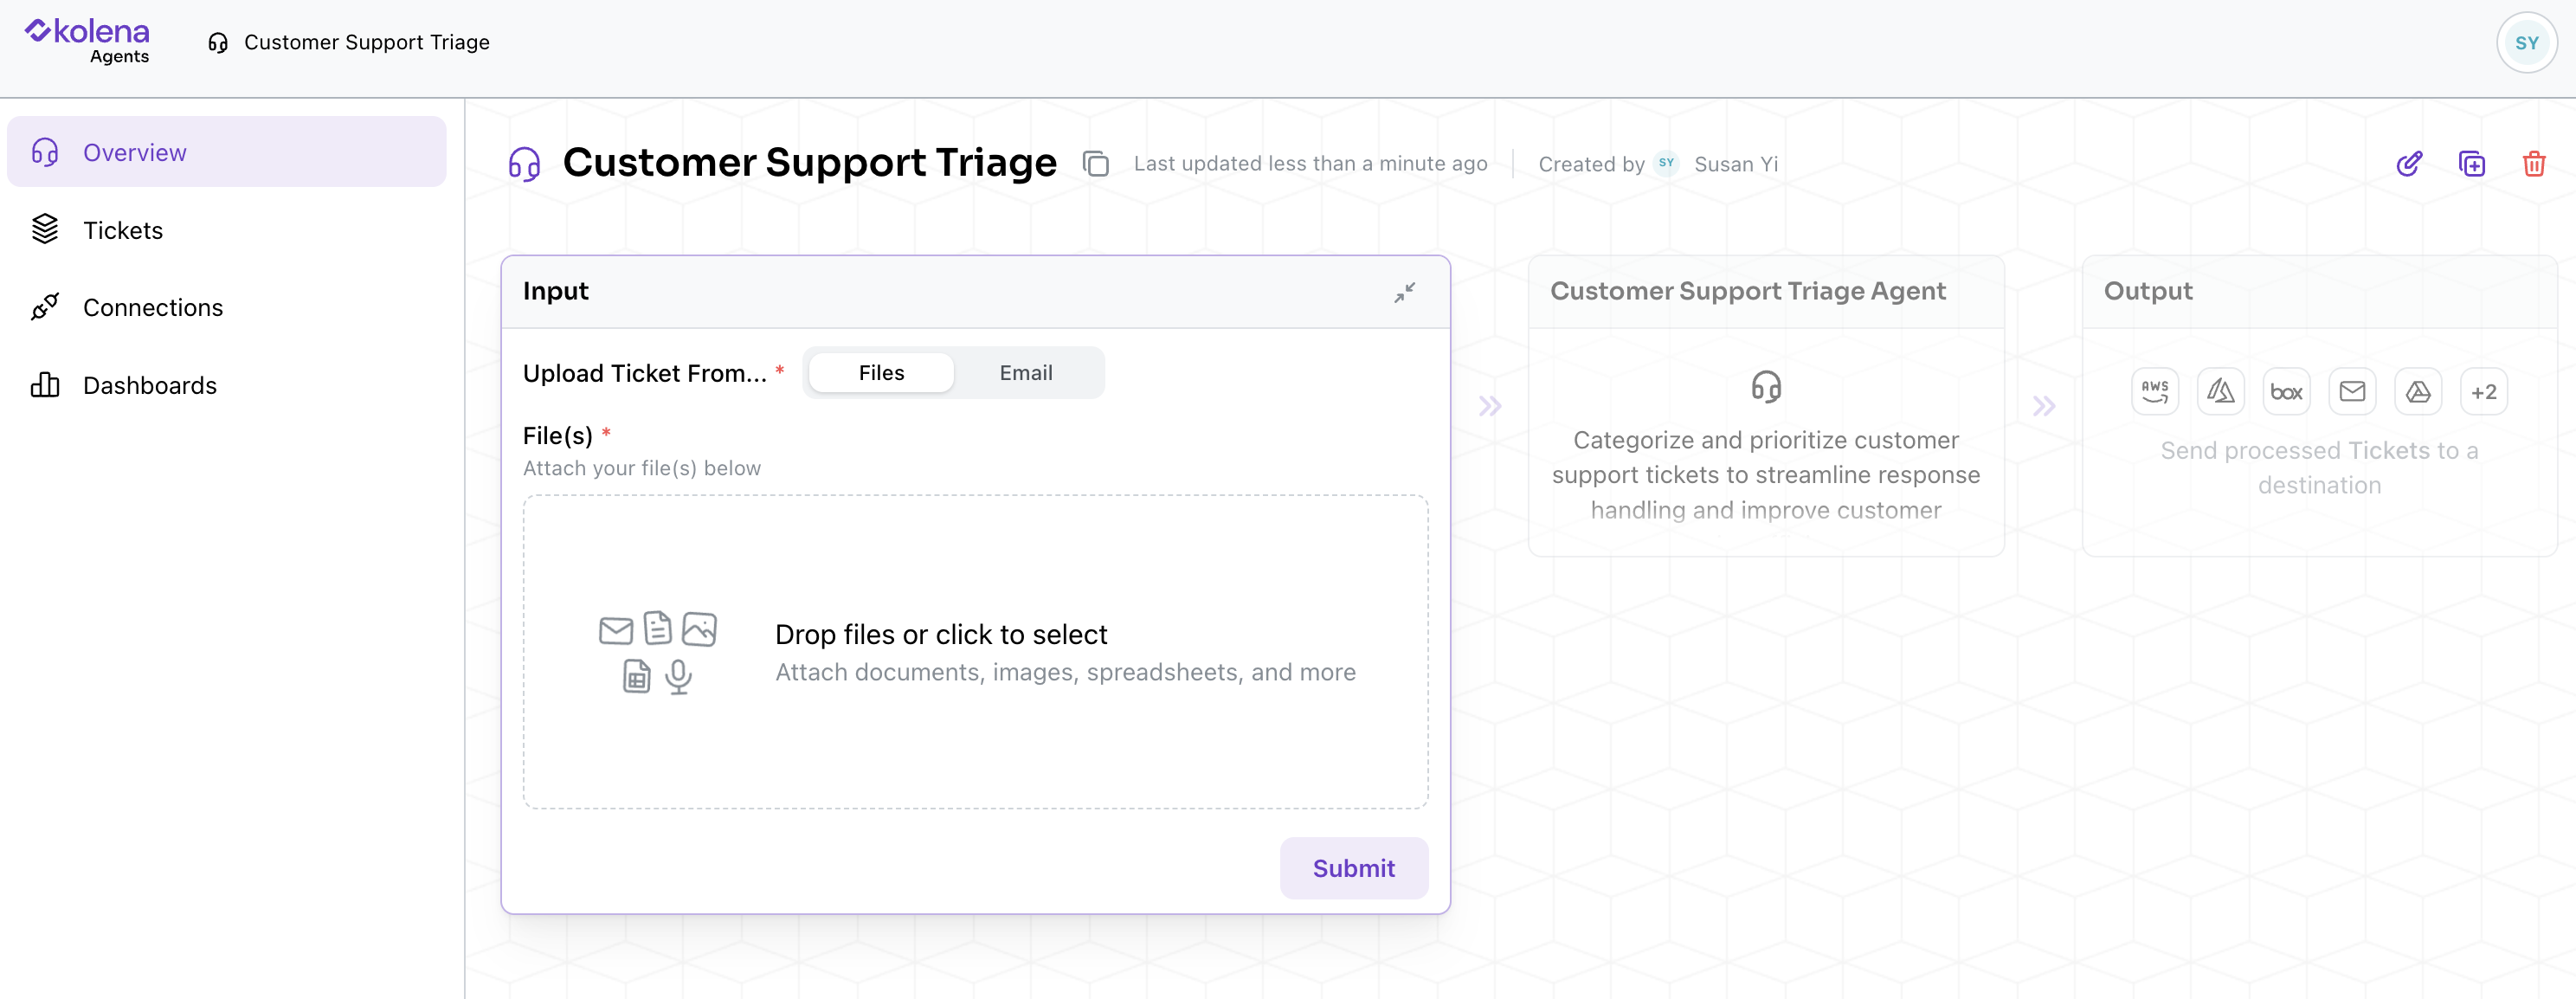
- Click Add New Support Ticket (sample file of whatever you’re working with)
- Upload a sample email or document
- Hit
Submitto move to the prompt setup
Prompts
Creating Prompts
Adding a Prompt is as simple as asking (in natural language) what you’d want from the AI. Kolena will intelligently use the context it has to turn that request into a prompt that precisely guides the AI into extracting the relevant information from the uploaded documents. Once you’ve provided a description of what you’re looking for, you can:- Let Kolena auto-detect the output type (Create)
- Or preview the prompt, and manually adjust the instructions and output type (Preview)
Customize Output Types
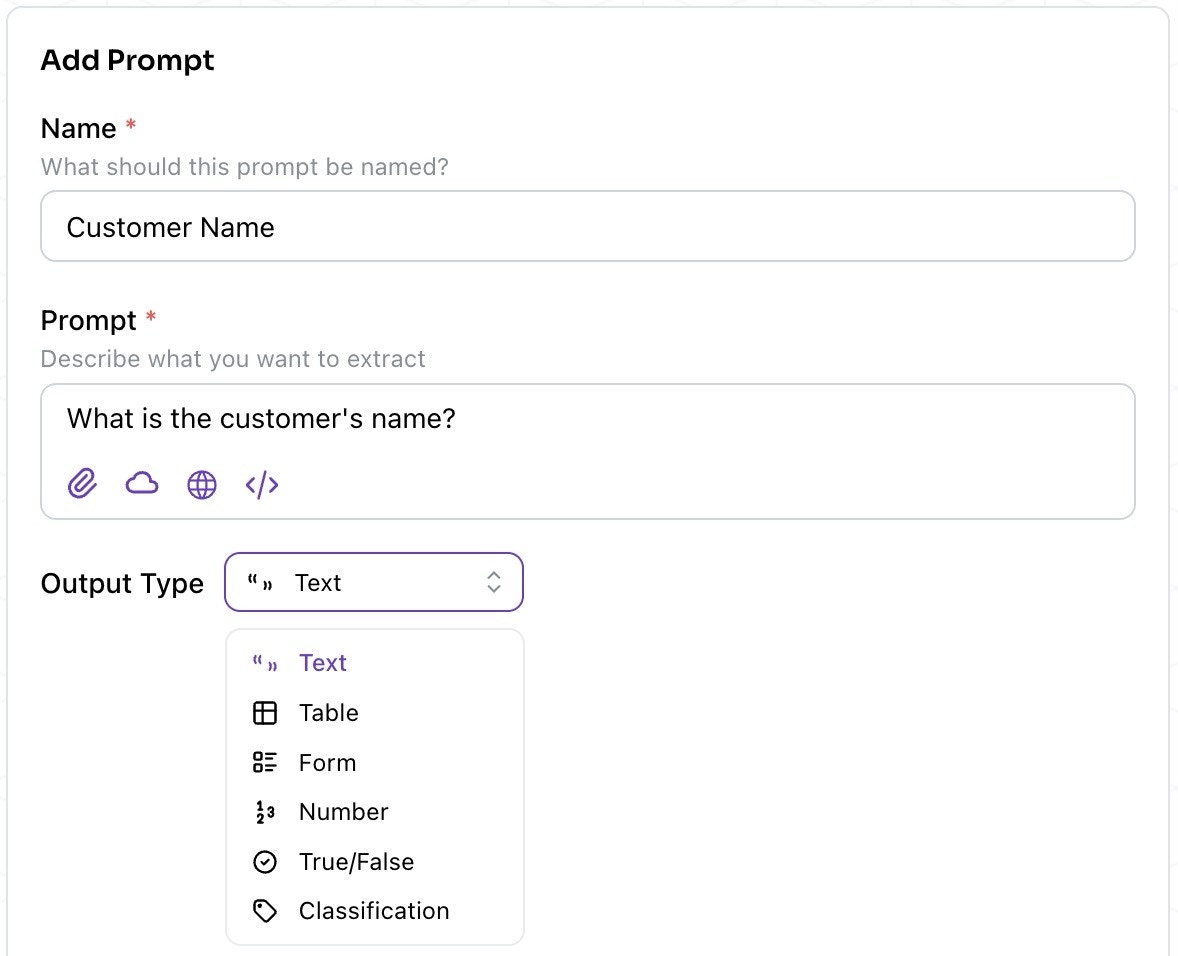
- Text - for names, dates, signatures, formatted numbers, summaries, etc.
- Table - for structured data organized in rows and columns
- Form - for specific fields with corresponding values
- Number - for numerical values
- True/False - for boolean values
- Classification - for classifying into customizable categories
Examples of Prompts
Some useful prompts for our Customer Support Triage Agent:- Customer Name (Text)
- Issue Summary (Text)
- Next Steps for Resolution (Text or Classification)
Advanced Options
There are a few options for more advanced prompts:- Comparison Doc: Upload internal SOPs or guides for consistency checks
- Data Analysis: Enable if using structured Excel files or needing calculations
- Web Lookups: Pull public information as supporting context
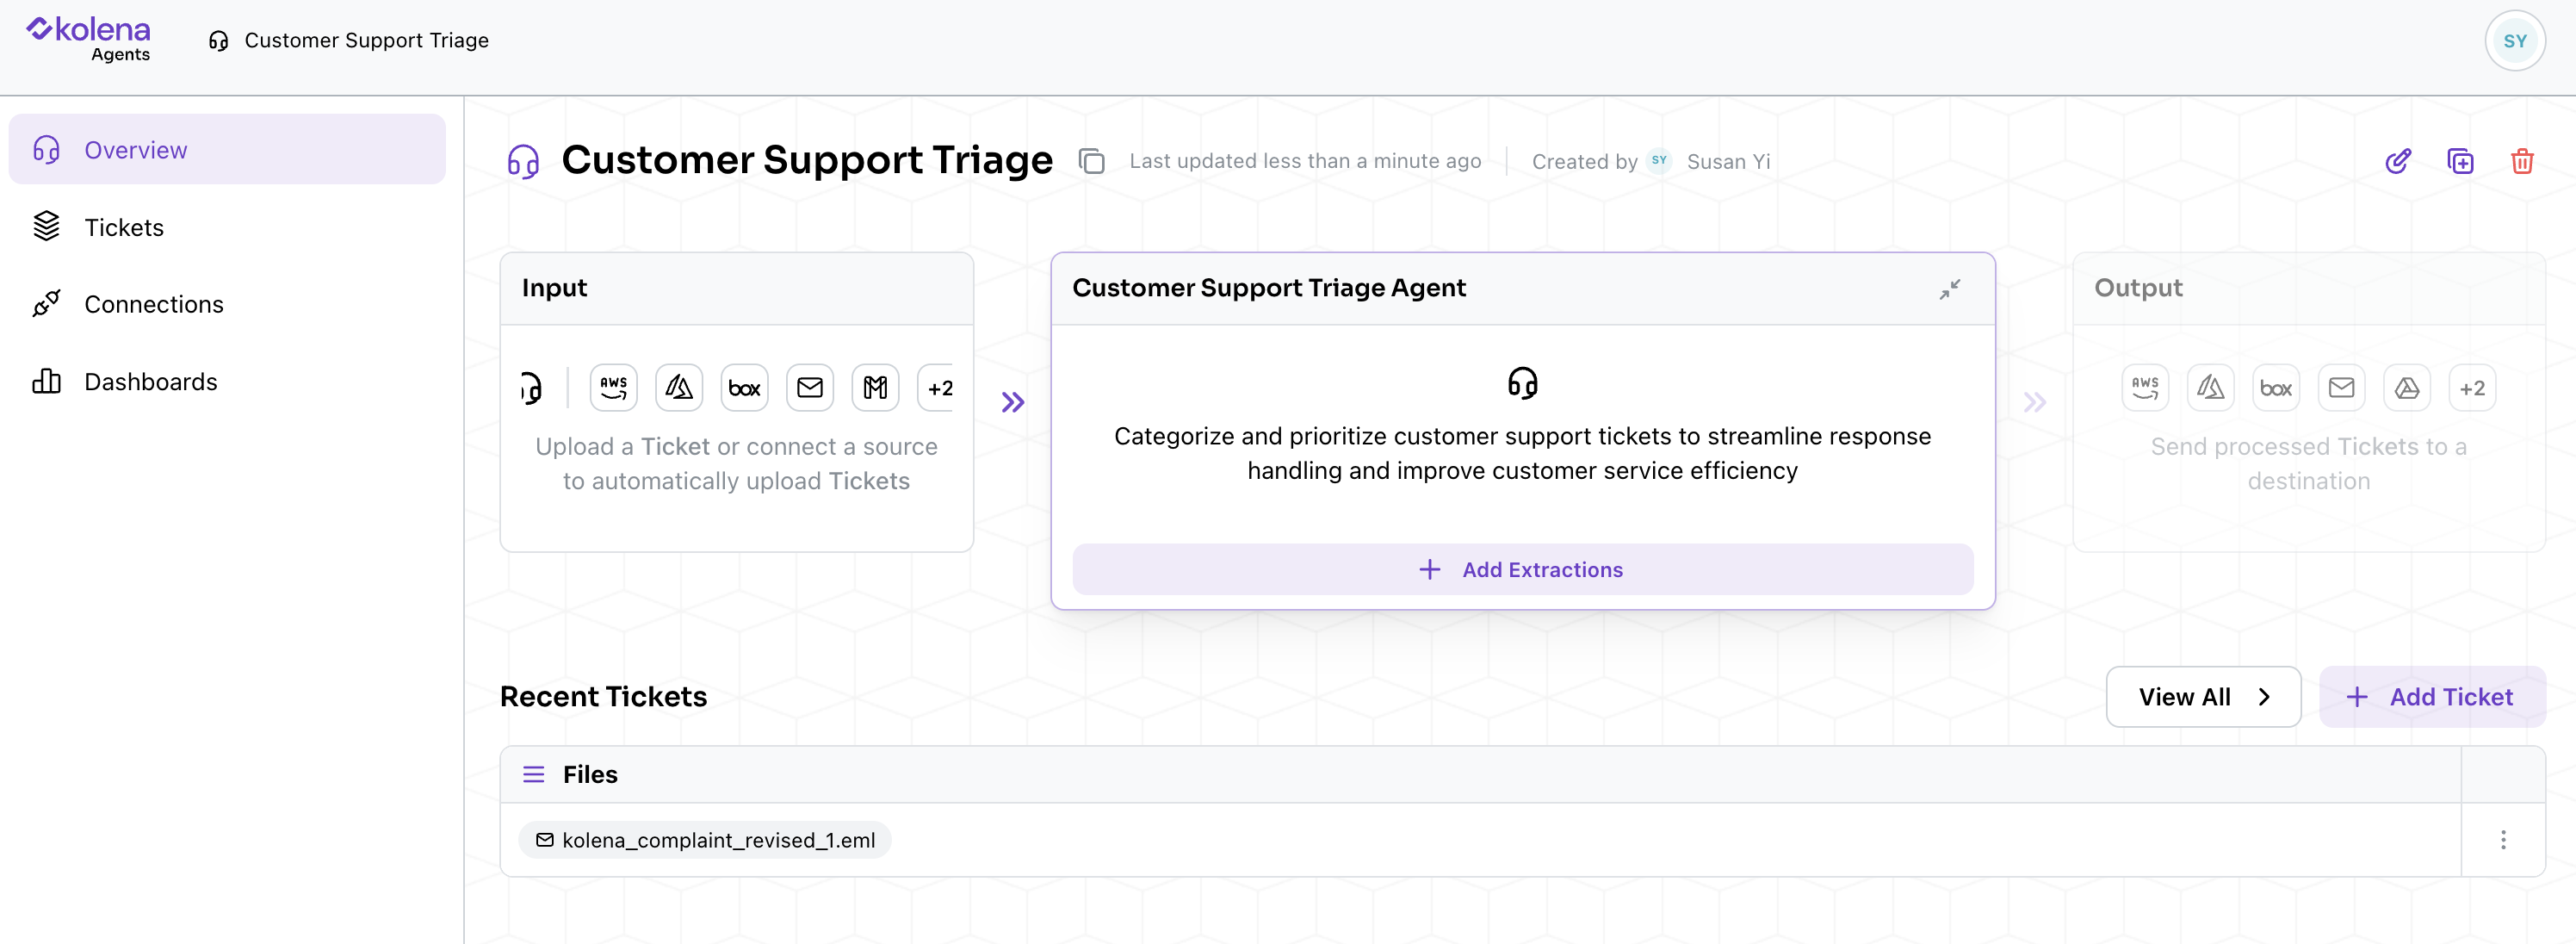
Using Your Agent
Add More Files
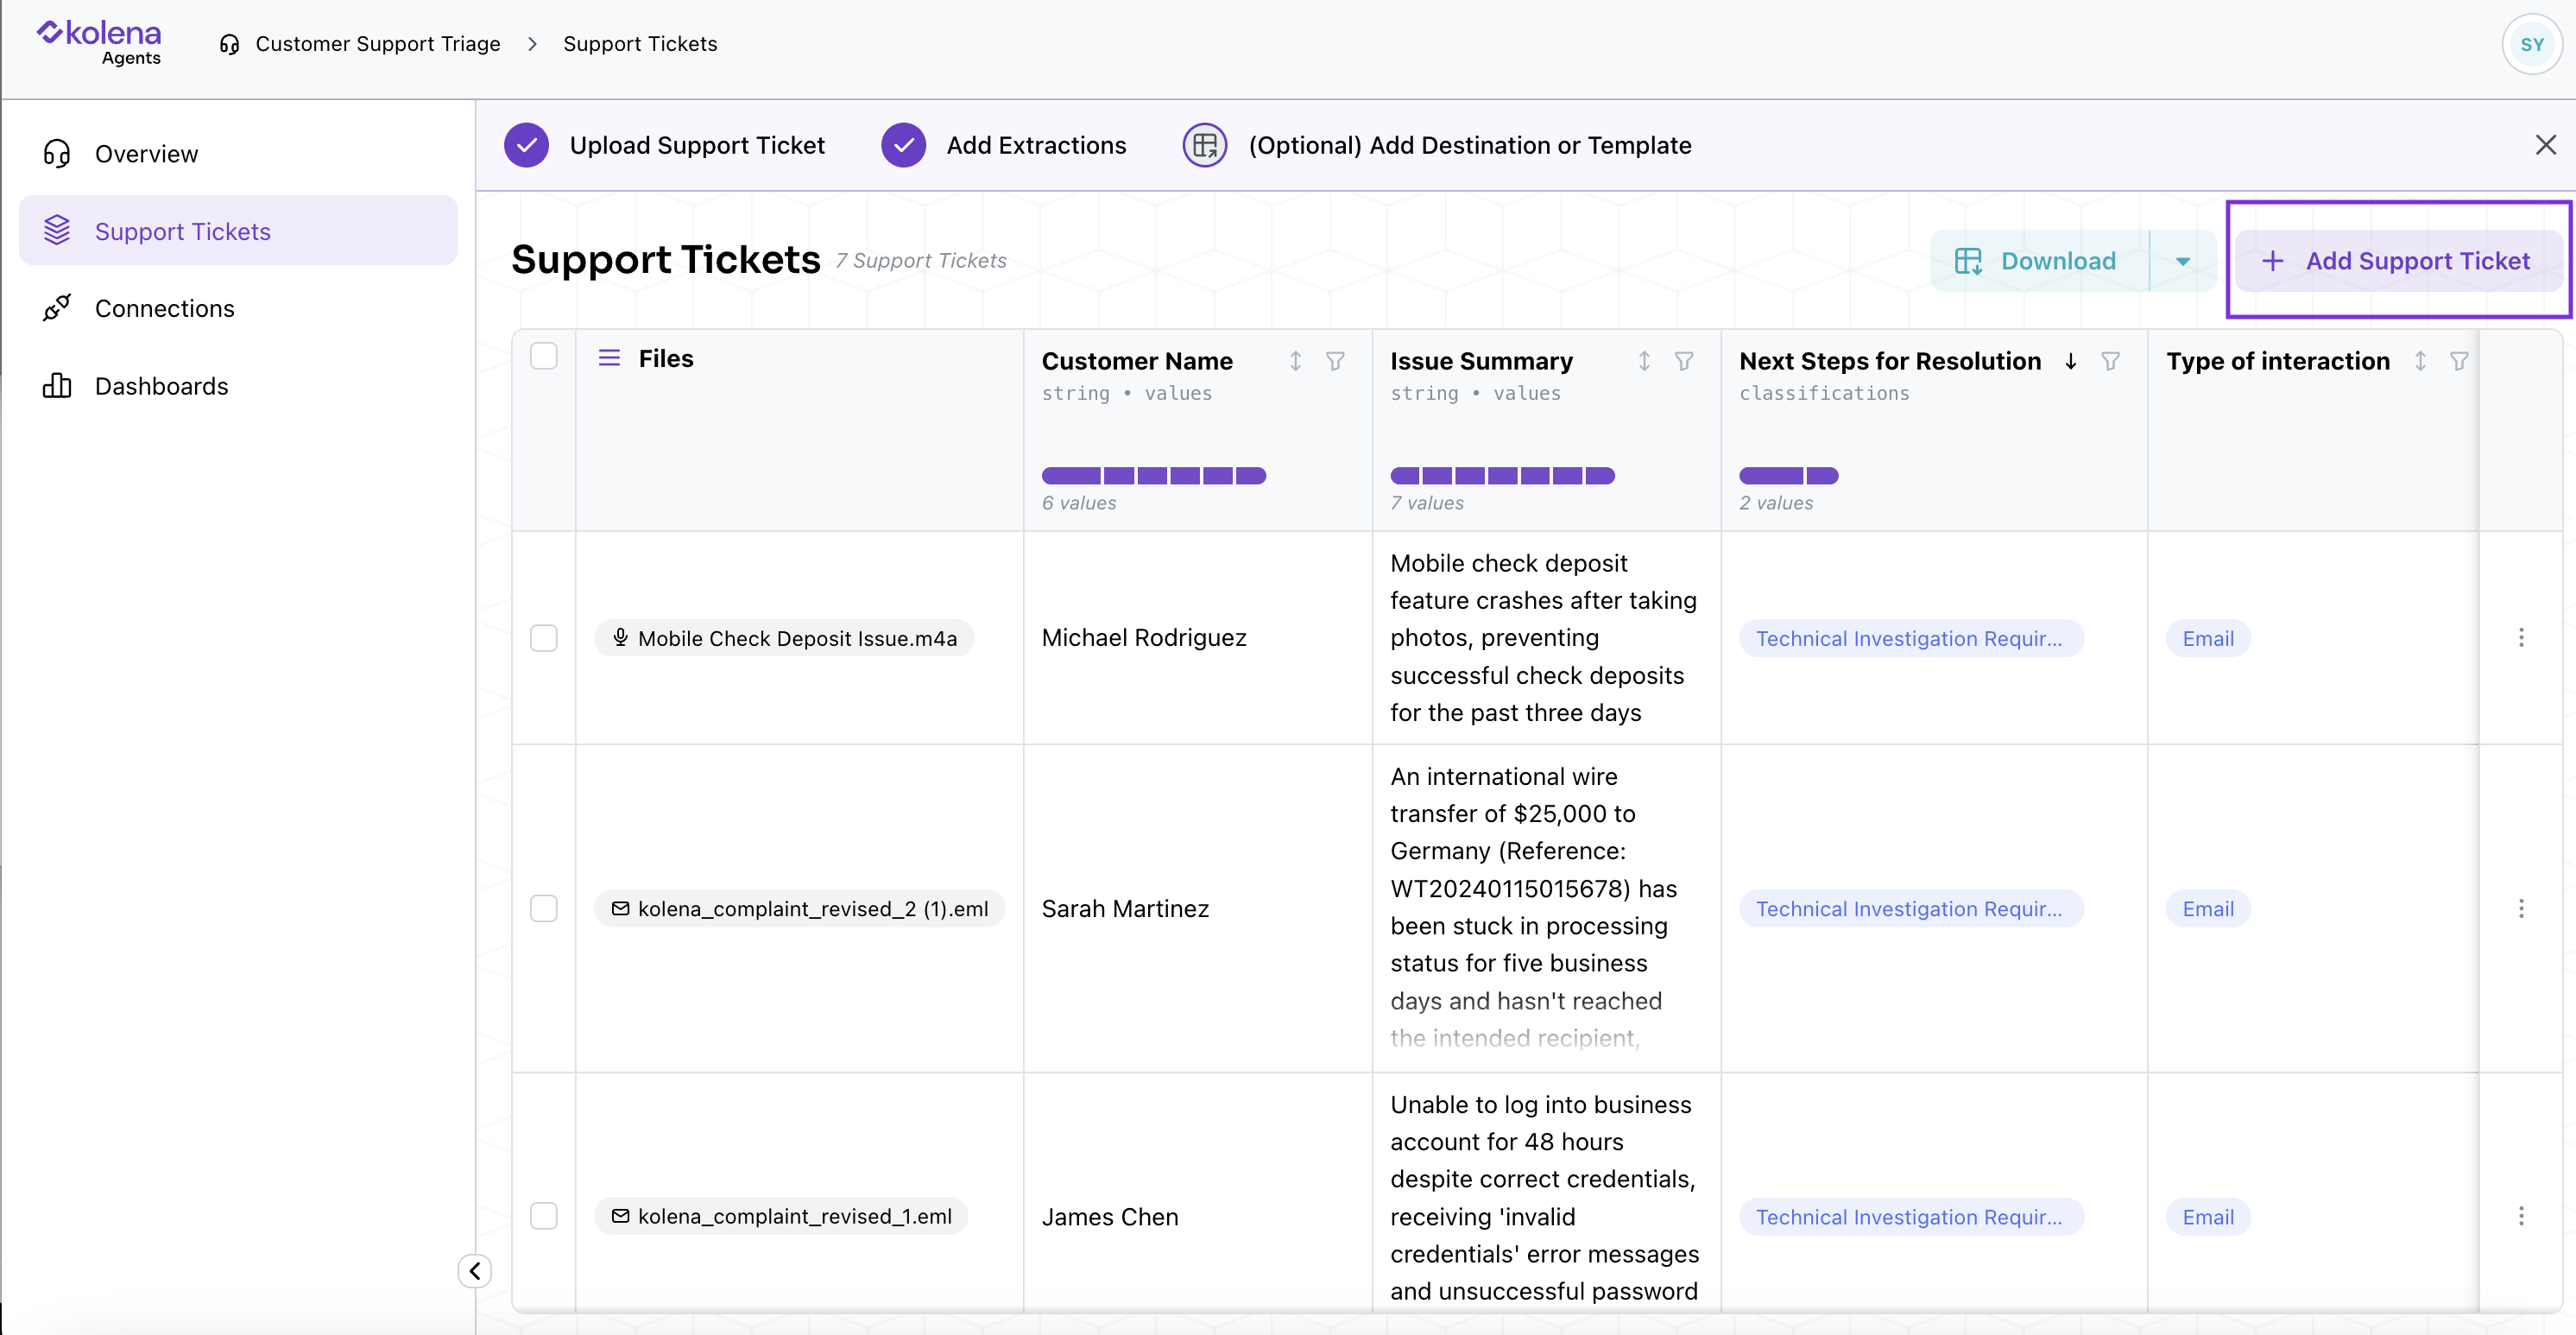
- Drag and drop additional support tickets
- Choose Import as Multiple Tickets (recommended for broad analysis)
- Or Single Ticket (for deep dive into one customer’s issues)
Manage Your Files
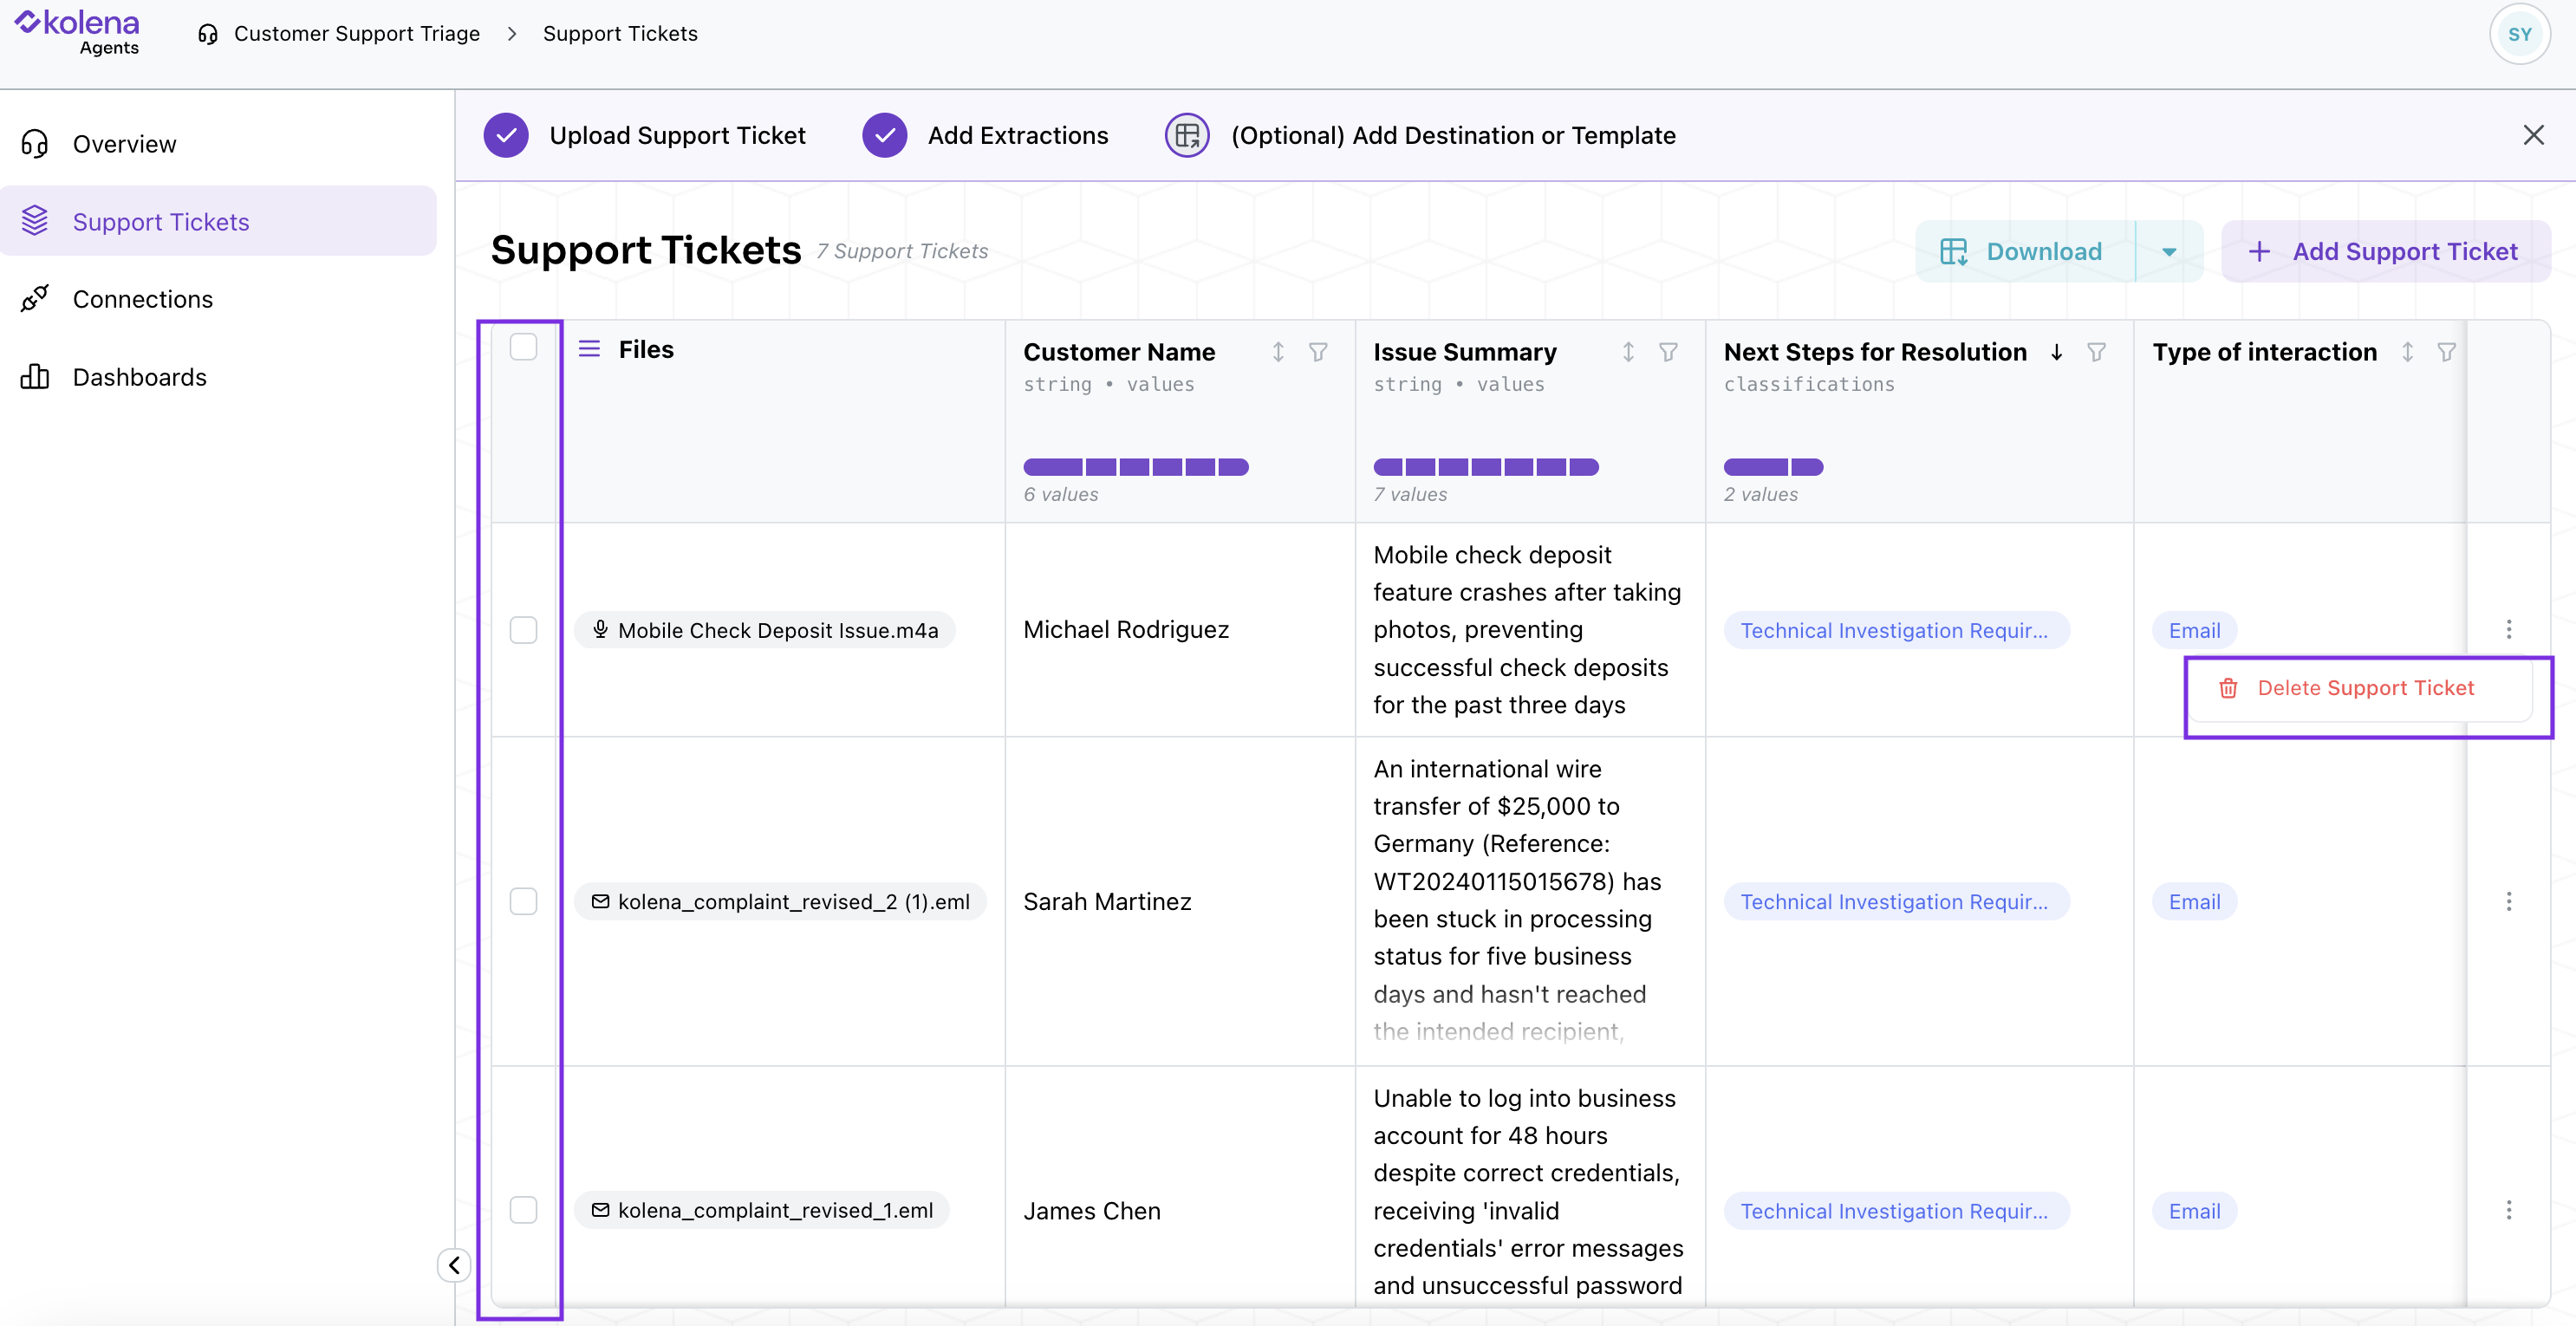
- Delete files: Select all or specific ones to remove
- Download: Export as Excel
- Filter: By customer name, issue type, etc.
Reporting & Collaboration
In addition to overall view provided by the Agent Runs page, you can also click into a specific Run to:- View prompts in Editor View
- Modify or delete prompts at any time
- Use the Report View to:
- Print summaries
- Share live links
- See reasoning and citations for insights
You’re Ready!
You’ve now created a powerful Agent that can:- Automatically parse your support tickets
- Extract key insights
- Organize customer issues and trends
- Provide structured, shareable reports
- Integrating your Agent to data sources or destinations
- Adding more prompts
- Uploading more examples
- Iterating on your prompts